

The images below are captured from Kardy’s actual Branding page using
fictional Sunday Coffee demo data. Demo QR codes open the Kardy website, not a
live membership. Use your own workspace’s QR for customers. Display holders
are illustrative, not supplied.
What the QR does
Customers scan this public join QR with their phone camera, open your programme’s join page, and create or sign in to their Kardy account to join. An outlet-specific link records the joining outlet. It does not award a stamp or prove a purchase. On a qualifying purchase, the customer shows their personal membership QR and staff scan it in the merchant workspace, then confirm the action. Those are two different QR uses. Continue to scan, stamp and redeem for staff steps.Prepare your sign
1
Select the brand and outlet
Switch to the correct organisation and open Branding → QR sign.
Under Store location, choose the outlet where the sign will be displayed.
Kardy initially selects All locations. Choose an active outlet for an outlet-specific sign.Choose All locations · Brand sign for a brand-wide sign without an outlet
address or signup-outlet attribution. Prepare each outlet’s sign separately.
2
Choose the design
Select a Design family, then a design thumbnail. Studio → Plain is the
simple layout shown below; Frame, Ribbon, Soft forms and Geometric offer other looks.
The sign uses your merchant name and logo; update saved branding separately
if those details are wrong. Under Sign text, edit the Headline,
Supporting text, Scan label and Instructions. The supporting text
starts with your brand tagline. Changes appear in the print layout, counter
mockup and phone/laptop display without changing the QR destination.Clear supporting text or instructions to hide them. Blank headlines and scan
labels fall back to default wording. Reset text restores the defaults.
Text edits are not saved after leaving this page: print or save a PDF to keep
your customised sign. Character limits help the text fit every print format.Keep the QR dark on its white background. If QR colour is too light, Kardy
falls back to dark ink. Do not crop away the white space around the code.
3
Choose a format that fits
Measure the holder’s insert pocket, not its outside dimensions. A6 describes
the paper, not the size of a base or sleeve.
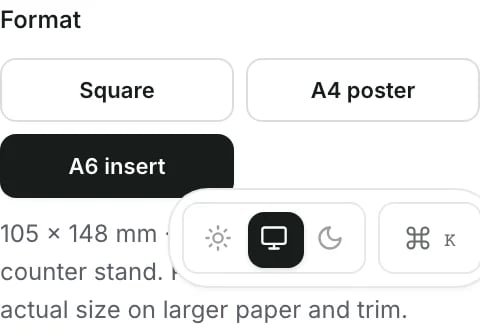
Actual Branding format controls with A6 selected.
4
Check the preview and destination
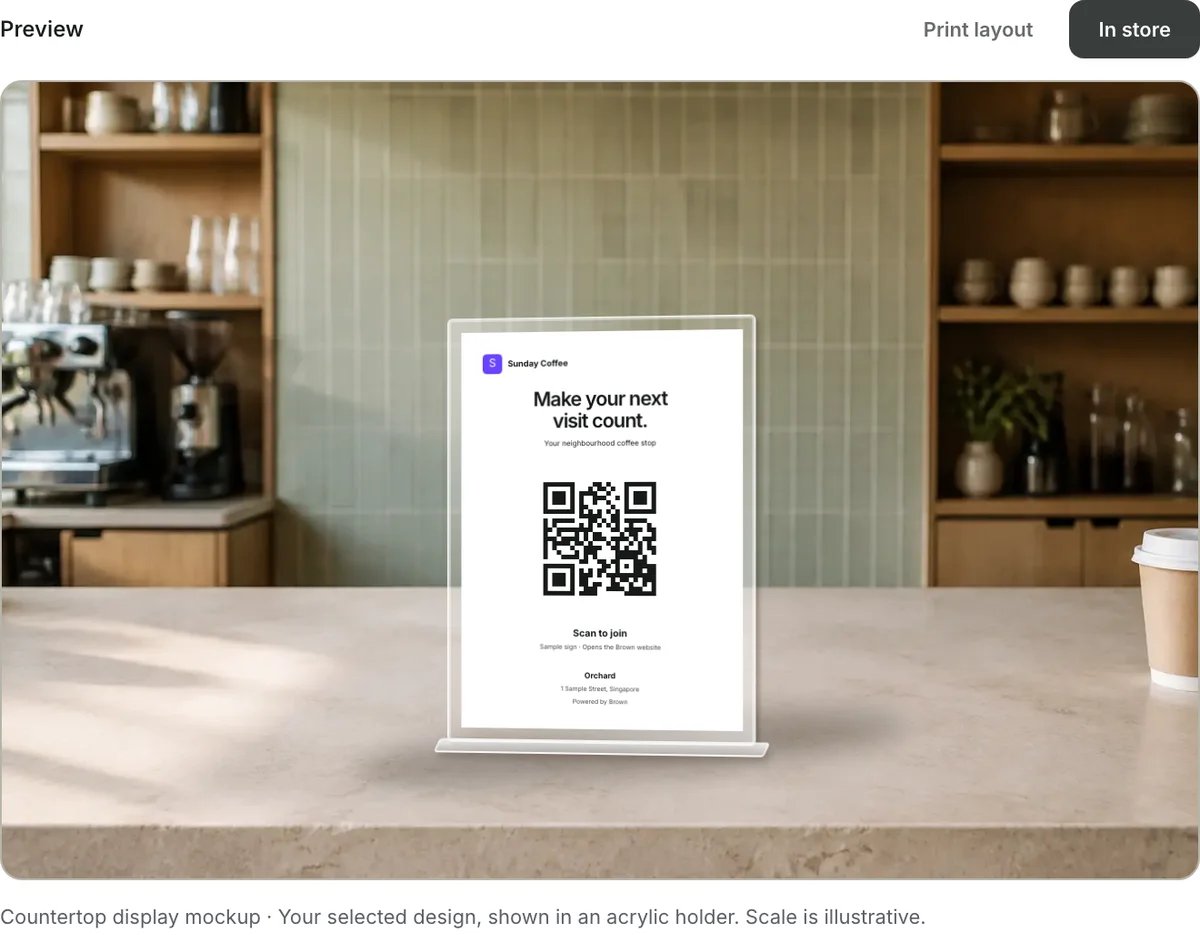
Use Print layout to inspect the artwork. Use In store to see it in the
counter-holder mockup. Both reflect your selected design and format; the store
scene is illustrative and is not printed.Read the brand, outlet name and address. Scan the preview with a separate phone
and check that it opens the intended brand’s join page. Copy link gives you
the same destination for a manual check.
- Print layout
- On the counter
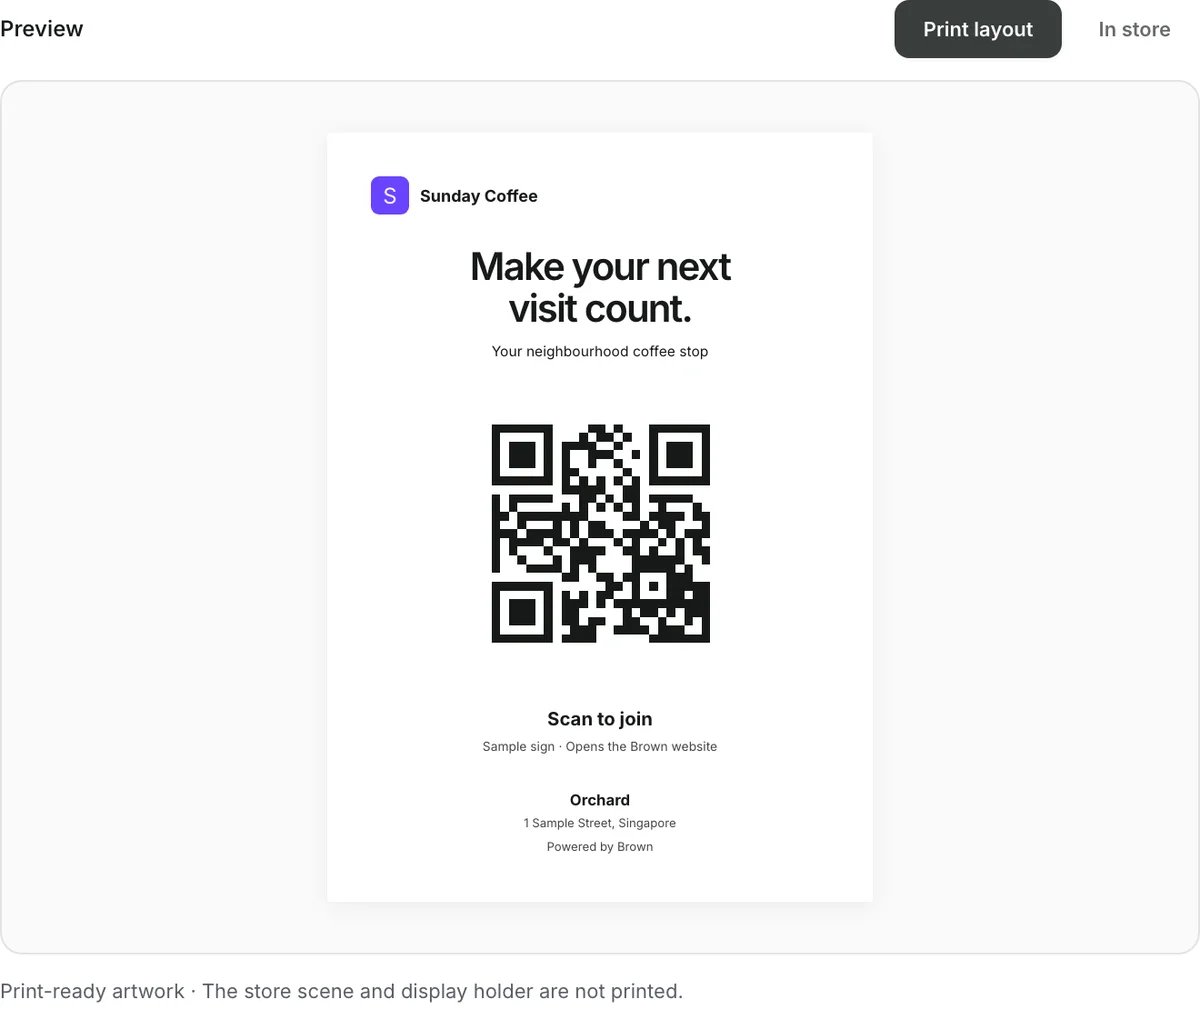
Actual A6 print-layout preview. Only the sign artwork is exported.
Print and fit the insert
A holder is optional. If you want one, buy your own from a stationery shop or an online marketplace such as Shopee. Match the holder to your selected print format:
Choose a holder that lets you slide the paper out for replacement. Check the
usable insert pocket, not just the outside dimensions or the listing title.
An L-shaped or T-shaped holder can work; a complete acrylic holder normally does not
need a separate sleeve. Confirm the selected size with the seller before ordering.
Kardy does not supply the holder shown in the preview.
- Select Print / save PDF. Save a PDF to send to your printer, or select a physical printer.
- Use 100% / Actual size, not Fit to page. Turn browser headers and footers off.
- For A6, use 105 × 148 mm paper where supported. Alternatively, print the A6 PDF at actual size on a larger sheet and trim the paper to A6. Check the PDF viewer’s settings too.
- Print one sample and measure it. Browser and printer options differ; check that the result has not been enlarged, reduced or clipped before printing a batch.
- Slide the paper into your clear sleeve or holder, keeping the full QR and its white border visible. Choose paper that fits the pocket; thick card is optional, not required.
Place it and test it
Put the sign where customers can comfortably point their phone camera, such as beside the till. Keep the code unobstructed and move or tilt the holder if lighting creates reflections. Do not place another sticker or logo over the QR. Test the finished sign inside its holder, not just the on-screen preview:- Scan from the position where a customer will stand, ideally with an iPhone and an Android phone.
- Confirm the correct brand and outlet destination.
- Check that the join page is usable and your programme is ready for customers.
- Tell staff: the sign helps people join; stamps still require a confirmed staff action.
Use a screen instead
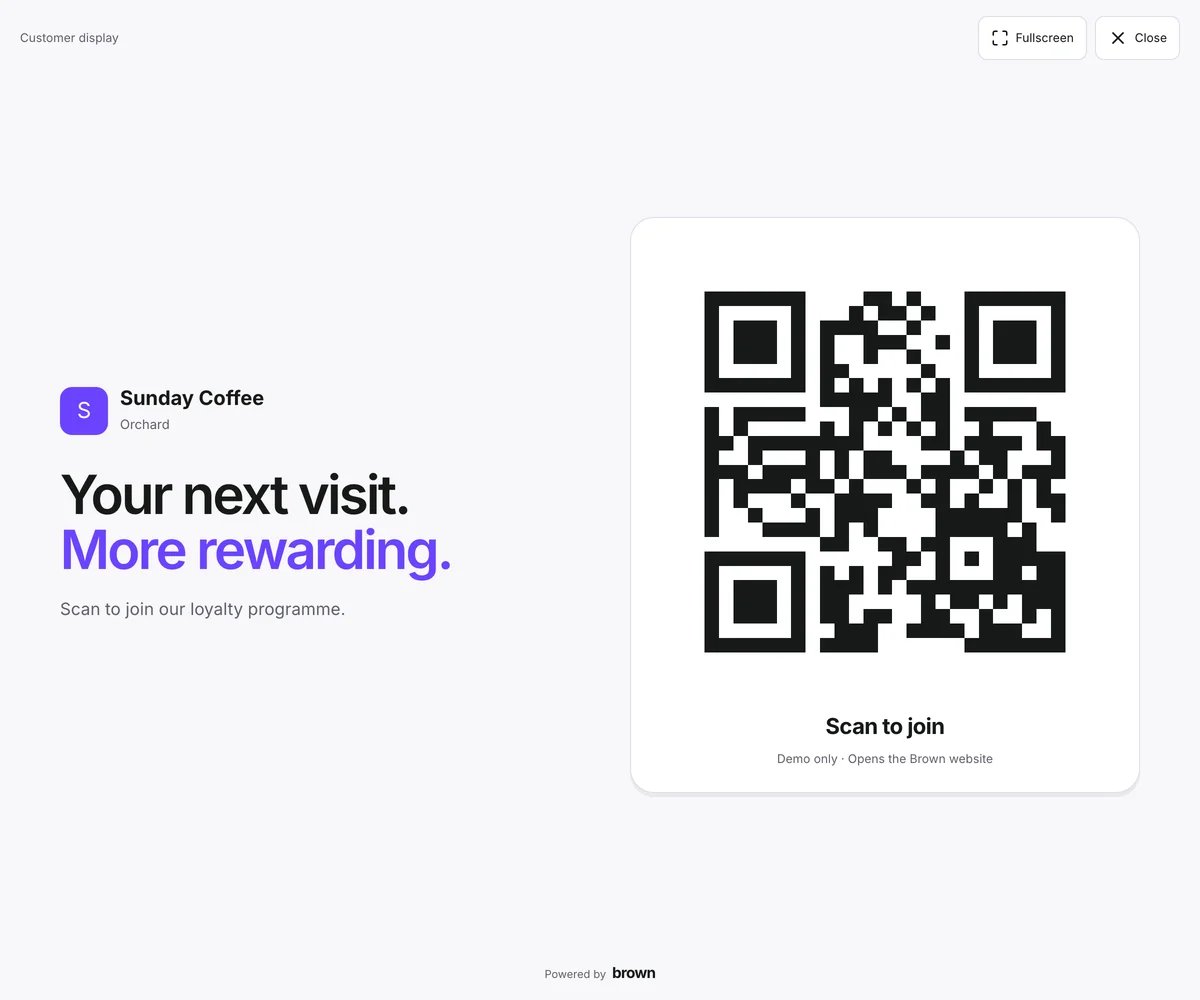
Choose the outlet, then select Phone screen or Laptop screen under Display on a screen. This opens the join QR on your current device—it does not send the display to another device. Open Branding on the device you want to use. Appearance defaults to Match printed sign, using the same design, format, text and QR colour. Choose Screen layout for the layouts illustrated below. Set Background colour and Display size before opening the display. These screen settings and text edits are session-only; they are not saved. Use Hide / Show to fold settings without losing the current values.- Phone screen
- Laptop screen
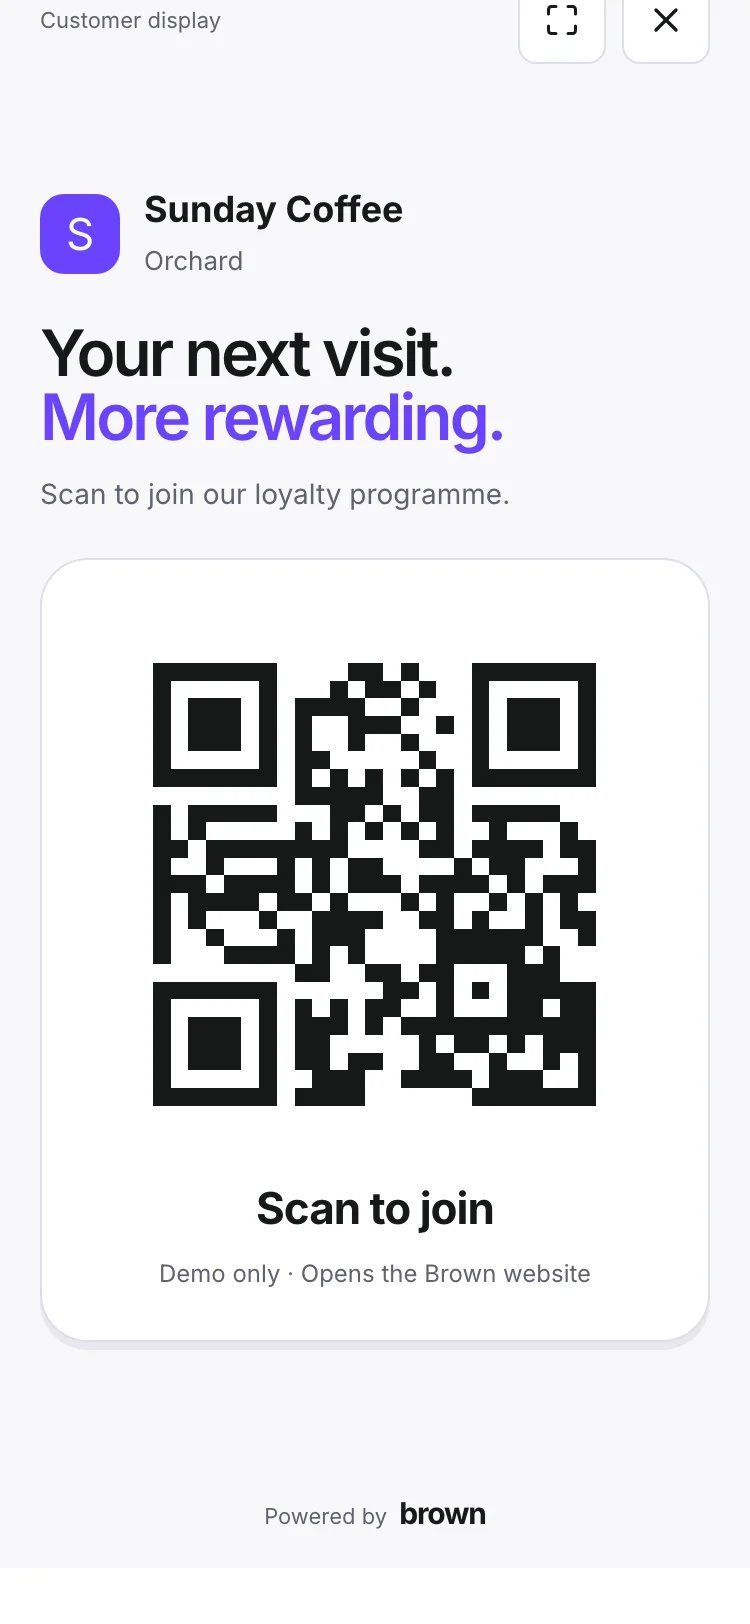
Actual phone display: a stacked layout with your brand, outlet and join QR.
If something looks wrong
Done when: a customer can scan the finished display, reach the intended join page,
and understand what to do next.